

Pack light and pack right with these carry on only travel tips.
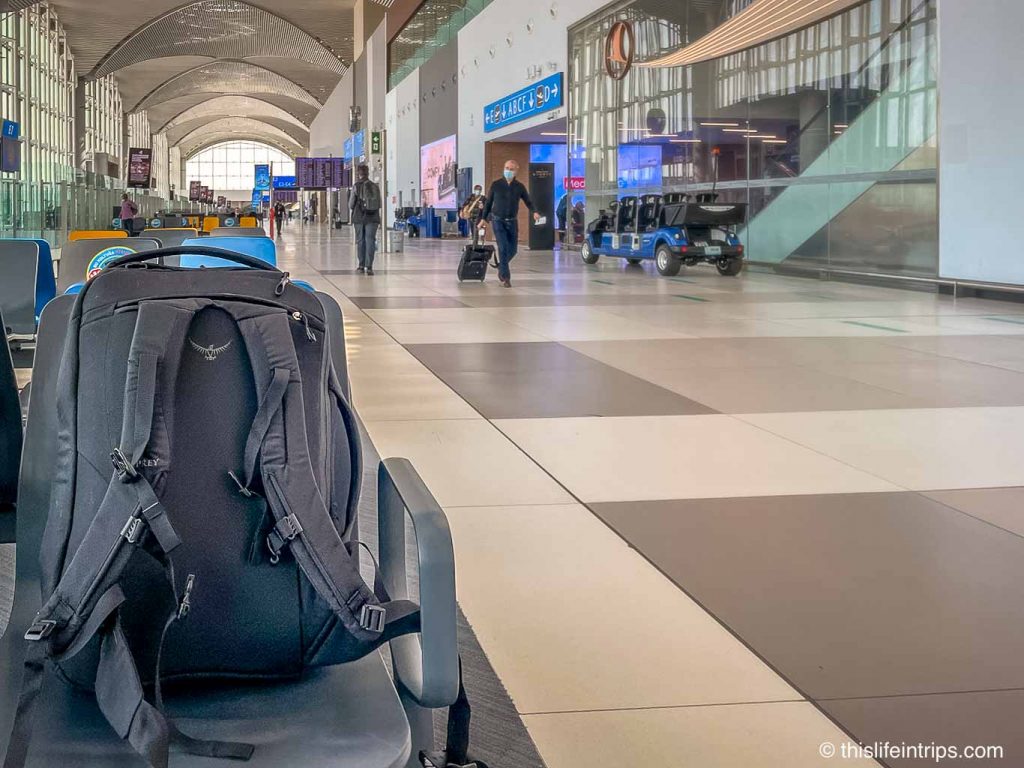
Over the last few years, I have become accustomed to carry-on only travel. I love the convenience of getting off a plane and leaving the airport. No hassle or fuss with waiting around for checked bags, just get up and go.
That said, since I have only travelled domestically for the last few years I have yet to attempt carry-on only travel on a big, multi-country trip. With my first international trip in over two years, one that had me visiting eight countries on three continents, I thought I would give carry on only travel a go. Here’s how it went along with my tips and suggestions for next time.
Pick the Right Bag
The first step to carry on only travel for a long trip is selecting a bag that is up for the task. Domestically and for short trips, my Herschel Novel duffel bag has served me well. For my electronics and miscellaneous items, I use a PKG Durham backpack. These are both great, stylish bags but are pretty limited for a long trip. The duffel bag is only 42 litres and is cumbersome to carry long distances. The PKG bag is stylish and super functional but bulky and not ideal for taking on hikes or day trips. With this in mind, I started searching for the perfect travel bags to take with me.
Main Bag for Carry-On Only Travel – Osprey Porter 46
For my main bag, I had a few factors to consider – size, weight, portability, functionality, and style.
Size
If you are travelling long-term and want to travel carry-on only you are going to want the largest size allowable for aeroplane cabins. Although a lot of shapes can be stuffed into the metal size allocation bin at check-in counters, the maximum allowable limit is 46 litres.
Weight & Portability
Since I would have to carry this bag through airports and to hotels I wanted a backpack. Although wheeled bags are great, (I took a Timbuck2 CoPilot around the world three times!) they are typically bulky and add weight. As such, I searched for a backpack.
Functionality
That said, the amount of time I would be using the bag on my back would be limited to long walks between gates. All other travel with my larger bag would be in taxis or cars. As such, I wanted the option to use the bag like a duffel for ease of picking up and going.
Also, unlike my Herchal Duffel, I needed more than one or two pockets to better organize.
Style
Last but not least, I wanted a bag that looked good. I was looking for a bag that would not be out of place in a business-class cabin while maintaining a balance of lightweight, functionality, and portability. As such, I avoided bags with flashy colours typically found with backpacking and outdoor gear.
All Things Considered
With these main factors, I narrowed my search to the Patagonia Tres MLC 45L and the Osprey Porter 46. Both are the maximum allowable size and have backpack straps that can be concealed and used as a duffle. I ended up going with the Osprey Porter 46 because it has compression straps inside as well as a clamshell compression system on the outside. This allows you to jam a bit more in and still shrink it down to carry on size if need be.
Another big factor was the Osprey Porter 46 compatibility with the Osprey Daylite and Daylite Plus day packs. Both can attach to the Porter 46 which makes it all that much more travel friendly. Last, it also came highly recommended by my brother who is a backpack nerd, to say the least.
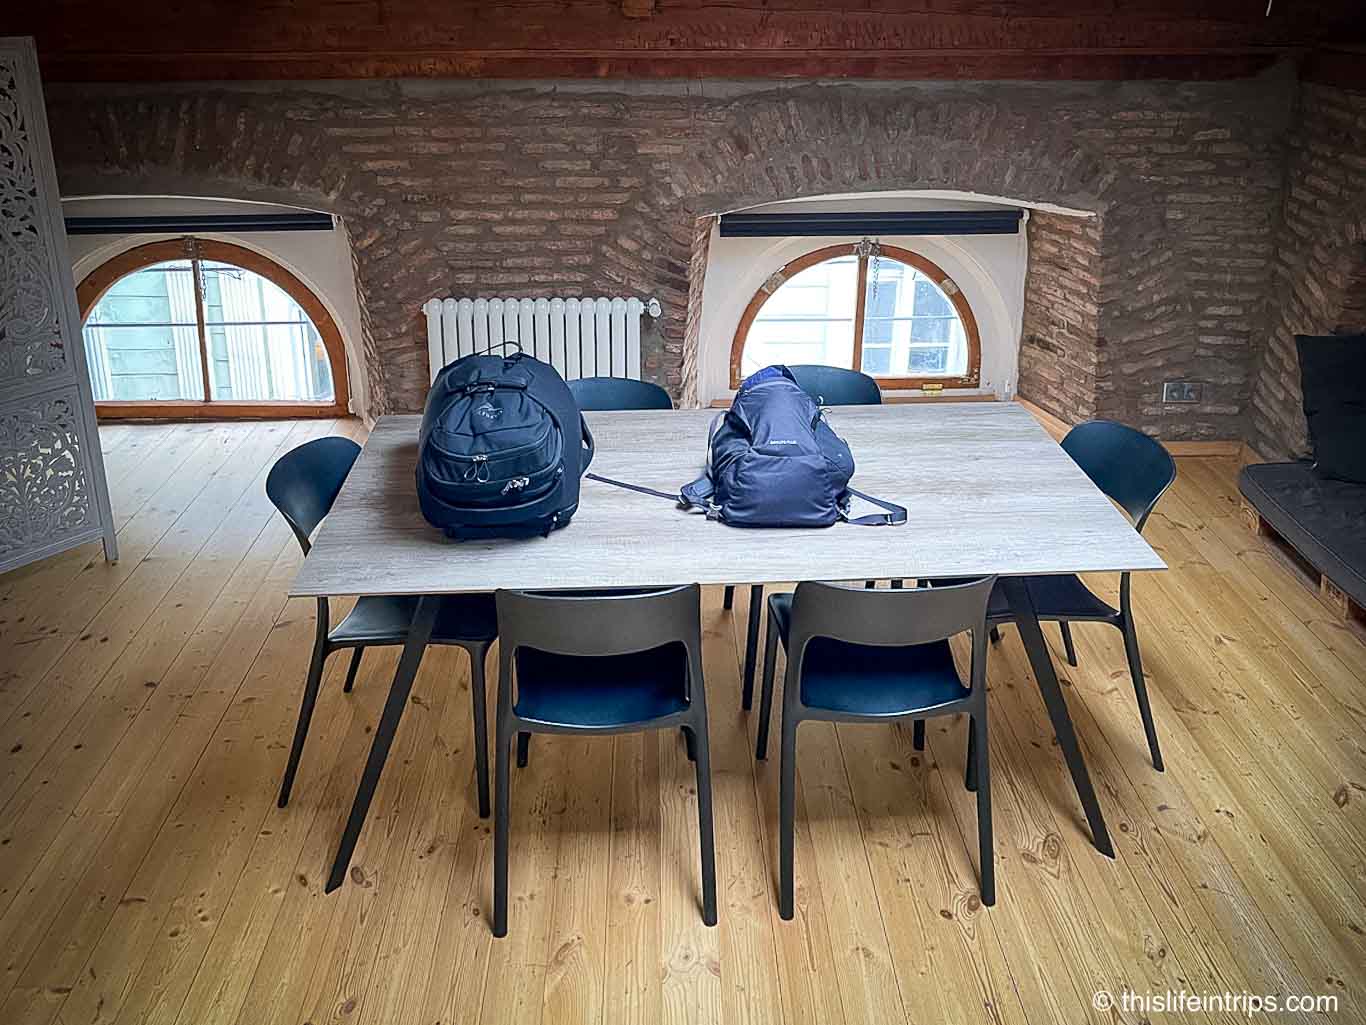
Day Pack for Carry-On Only Travel

As per above, I went with the Osprey DayLite Plus mainly because it can attach to the Osprey Porter 46. It’s also very light and makes for a great day pack for hikes and day trips. The one downside to the lightness is it lacks padding so laptop and camera storage is not recommended.
It has a pouch on the front that, at first, I thought I would not get much use out of it. Turns out, this is a great spot to keep a sweater and made it easy to grab and store on flights blasting AC.
Carry-On Only Packing List
Now that I had my bags sorted it was time to fill them. Since I was attempting carry-on travel, I really needed to pack light. This was tricky as, when I pack checked bags I always seem to overpack and end up not wearing all the clothes I bring. I’m sure I’m not the only one who does this. This meant I needed to pack light…then pack lighter.
With that, I set out to pack enough to last me one week at a time with the intention to wash my clothes every 7 days or so. After a few revisions I landed on the following;
Clothing
- Short socks x 5
- Long/Dress socks x 1
- Compression socks x 3 (I use these on flights)
- Underwear x7 (Saxx Quest are great – lightweight and easy to hand wash if needed!)
- Tshirts x 7
- Sweater x 2
- Gym shorts
- Swim trunks
- Shorts x 2
- Tank top x 2 (highlight recommend these lightweight bamboo ones!)
- Pants x 2
- Button-up shirts x 2
Shoes and Accessories
Now since I was visiting locations that were both well above and below freezing, I needed to ensure I brought clothes that I could layer and use in a range of climates. This meant packing a compressible puffy jacket as well as a light rain jacket. Other miscellaneous items include the following;
- Flip flops
- Sunglasses
- Glasses x 2
- Mask x 2
- Sneakers x1
- Travel dress shoe
- Ballcap
- Tuque
- Puffy jacket
- Rain Jacket/Windbreaker
- shaving kit
- Notebooks x 3(I love these Moleskine softcover ones!)
Camera Gear & Electronics
On the electronic side I had the following to pack;
- Camera Bag
- Olympus OM-D EM10 MIV Camera
- Camera Lenses x 4 (see here from my full kit!)
- Camera Batteries x 3
- GoPro
- GoPro batteries” target=”_blank” rel=”noreferrer noopener”>GoPro Batteries x 3
- Charging cables
- MacBook Air M1
- Multi-Charger
- USB-C cable
- USB-A cable
- iPhone charging cable
- iPhone and Apple Watch
- SSD Harddrive
A quick note on the multi-charger – I picked up the Minix Neo P3 100w charger before I left and it is now my favourite travel accessory! Thanks to its three USB-C ports and one USB-A port, I was able to eliminate bringing any other chargers. I used this to charge everything – iPhone, Apple Watch, GoPro, MacBook etc… And, because my new Olympus OMD-E10 IV can charge by USB, I no longer need to bring bulky battery chargers. On top of all of that, this charger comes with adaptor plugs meaning no additional converters. Seriously, love this thing and makes carry-on only travel that much easier!
Compression Bag or Packing Cubes?

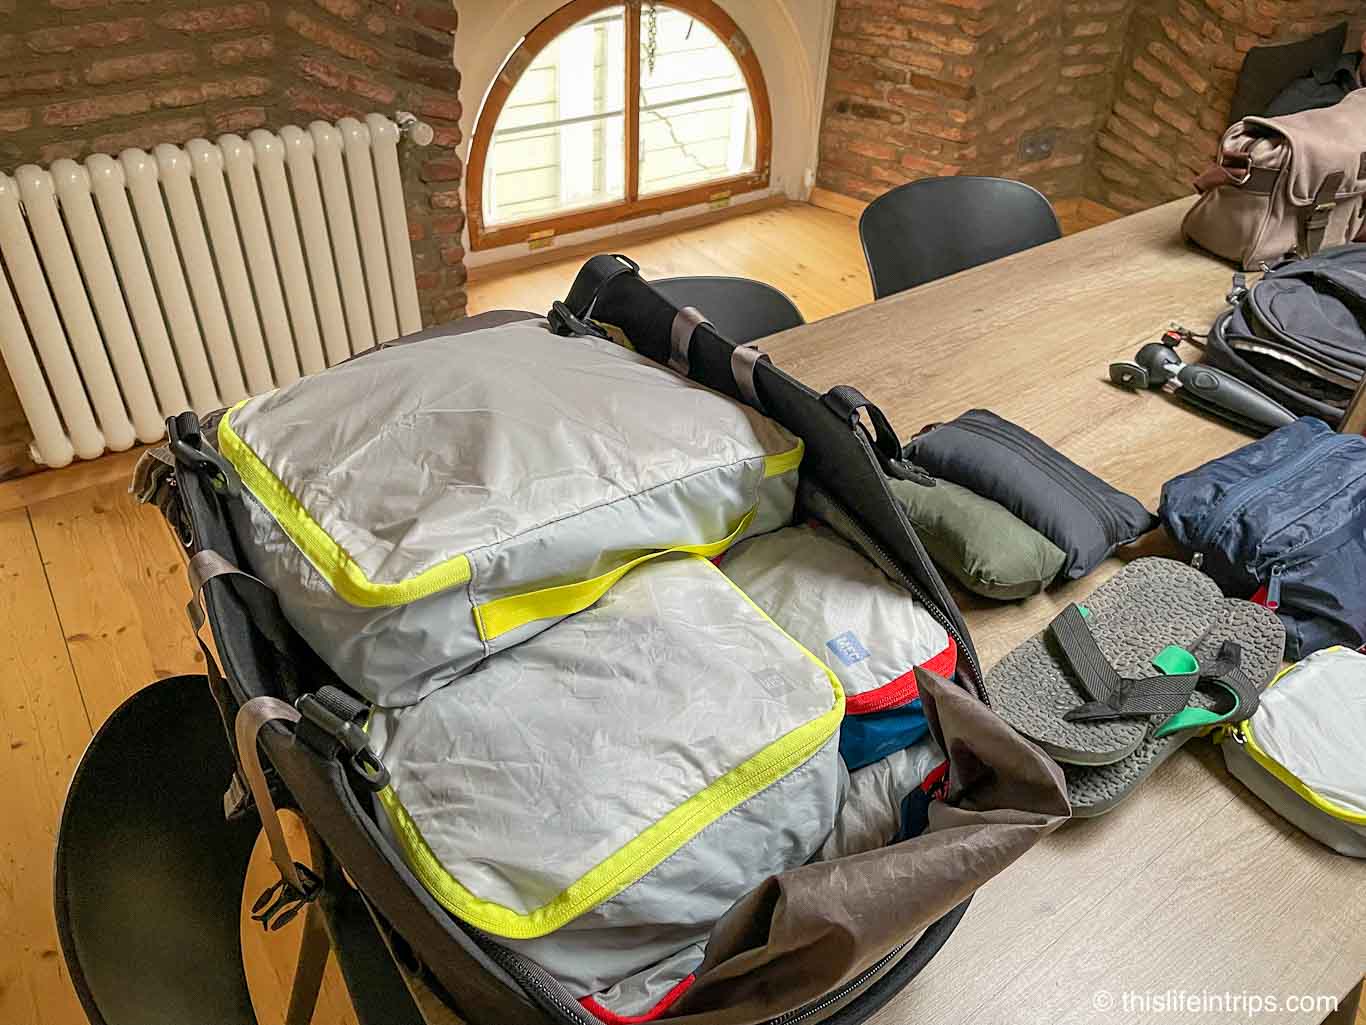
Next up was figuring out how to get this all into my bags. To make it fit I first tried compression sacks which I have used in the past with success. They work great however the downside is your clothes are largely stuffed into the sack and are a bit of a pain to sort through. As someone that likes to stay organized, I landed on some packing cubes from MEC.
These come in a variety of sizes. I ended up with three large, one medium and three small.


For the large, I separated my shirts in one, pants and sweaters in another, and shorts and tank tops in the last one. I used the medium one for underwear and a small one for socks.
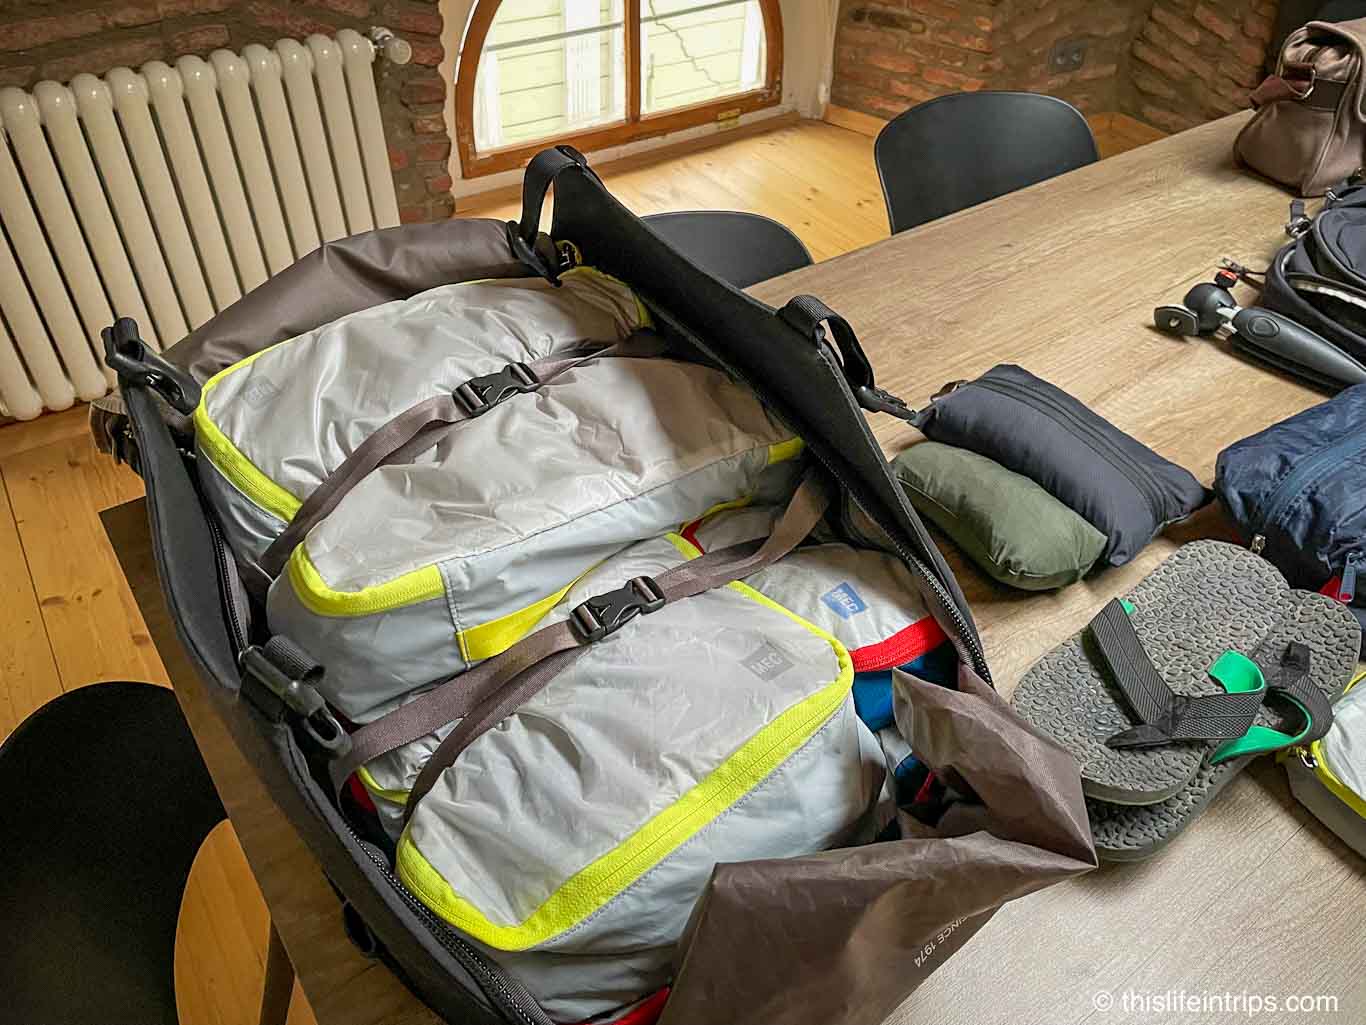
All four fit perfectly in the Osprey Porter 46. Initially packed the large ones vertically with the handles up. This made them very slick for pulling in and out however limited the use of the bag’s compression straps so I repacked with them stacked.
n the front small pocket, I packed my prescription sunglasses and spare glasses along with a shaving kit. In the top pocket, I packed my puffer jacket, rain jacket, spare notebooks, and a small tripod. Last, in the padded back sleeve, I stored my travel documents in an envelope. I also used this for my laptop as it’s better protected than in the DayLite Plus. It’s also super convenient for going through security.

For my Osprey DayLite Plus backpack, I used one small packing cube for my charging cables and Minix Neo P3 100w charger and one for my camera batteries, GoPro, and hard drives. I packed my camera and lenses into my camera messenger bag and then put that into the main cavity for flights.

Putting It All Together
After zipping and compressing the Osprey Porter 46, I was surprised by just how much I was able to get into this sausage-like bag. I packed up the DayLite Plus and attached it to the Osprey Porter and, although it definitely holds, it makes for one large bag on your back. As such, I don’t see myself using this option often but nice to have if needed.


Conclusion

As of writing this, I am three stops into this trip and am happy to report that this setup has worked out great so far! Getting through security is a breeze and no issues In and out of overhead bins and I have flown in both narrow and wide-body aircraft.
I will update this post if I come across any issues but so far, this solution is great! I highly recommend it if you are looking for a long-term carry on only travel bag with a daypack that can house your electronics and miscellaneous items.
UPDATE: I have now used this bag and method to travel multiple times with no issues. This included my trip to Africa with a Rovos Rail journey to Victoria Falls. On the return, my spouse’s checked bag was lost which was a huge inconvenience. This only strengthens the case for carry on only travel.
What say you?
What do you think of these Carry On Only Travel Tips? Let’s hear it!
Are you looking for more luxury travel or reviews on travel gear?


Having the right carry-on makes for easy trips, no matter how long you’re traveling. Great tips shared!
Agreed and thanks!
Brilliant info. Thanks.
You’re welcome and safe travels!